Tethering basics
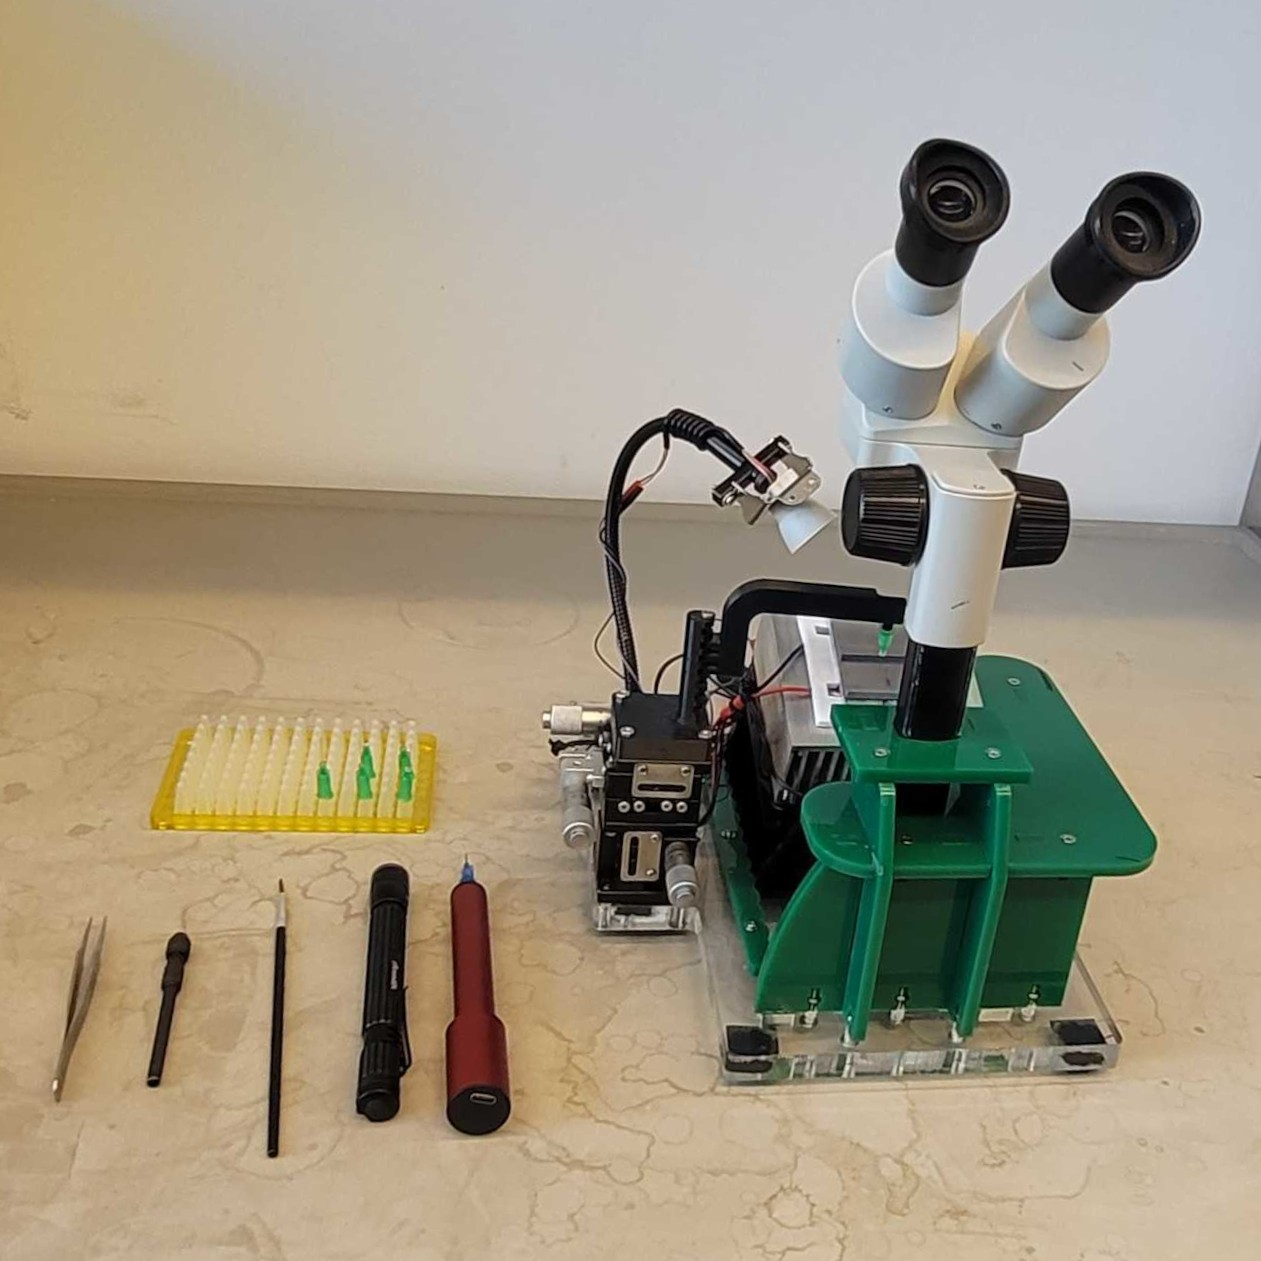 Photo by Frank Loesche
 To record a fly on the ball you first glue it to a small pin (the “tether”) so its head and body are held still while its legs walk freely. Tethering is a craft — the single biggest factor in getting clean data. A well-tethered, happy fly gives you hours of behavior; a crooked or over-glued one won’t walk.
The Fly Lab Gear tethering-station guide has the station design, hardware details, and source files.
The idea
- Flies are cold-anesthetized on ice — no CO₂. Below about 4.5 °C, they stop moving within minutes; when they warm up, they recover and begin moving again. Keep them cold while you work, then let them warm to wake.
- You glue only the top of the thorax to the tether. Head, legs, wings, and abdomen stay free.
- Minimal glue. If you never lose a fly because it breaks free, you’re using too much glue.
What you need
Tethers (pins), a micromanipulator plus a Peltier-cooled tethering platform (the “sarcophagus”), light-curing glue plus a curing LED, a glass slide, a pin vice, a fine paintbrush, a vacuum pen, Kimwipes, and a dissecting scope.
Prepare the flies
- Get a vial; note the genotype and estimated age in your notebook.
- Transfer a few flies into a tube; plug it with cotton/foam. Every fly is precious — ask for small batches. A transfer funnel may help.
- Chill on ice until fully immobilized (~5 min). Do not leave them on ice longer than necessary: a longer chill means a longer recovery before the fly is ready to walk.
Prepare the station
- Power the station; confirm the platform is getting cold.
- Lay a small Kimwipe square on the cold sarcophagus to soak up condensation.
- Put a drop of light-curing glue on a glass slide.
- Mount a tether on the micromanipulator and practice moving it — smooth, controlled motion is half the battle.
Tether a fly
- Check the flies are immobile and the platform is very cold. Dab away any condensation with a twisted Kimwipe point.
- Scatter a few chilled flies onto the Kimwipe on the platform.
- Pick a good candidate: a large, healthy fly, completely still, wings folded back and legs tucked into a neat “hexagon.”
- With the vacuum pen, move it into a sarcophagus cavity, head pointing away from you. Nudge it with the paintbrush until the body is straight and you’re looking straight down on the thorax.
- With the pin vice, place a small drop of glue on the top ⅓ of the thorax (not on the head, wings, or leg joints).
- Lower the tether into the glue with the micromanipulator — touch the glue, don’t crush the fly.
- Cure the glue with the LED.
- Lift the fly off with the micromanipulator and set it on the waiting plate. It should wake and start moving within a minute.
Good vs. bad tether
| ✅ Good | ❌ Bad |
|---|---|
| Tiny glue drop, thorax only | Glue on legs, wings, joints, or head |
| Head free, body straight, level | Fly cocked to one side / head glued |
| Wakes and walks within ~1 min | Slow/no recovery (usually too much glue or too cold too long) |
Mount on the ball
- Clamp the tether in the rig holder so the fly is centered over the ball.
- Lower until the legs just reach the ball and it grips and starts to walk.
- Confirm it walks: the ball turns under it, and once FicTrac is running you’ll see motion on the oscilloscope.
Practice first
Tethering takes reps — everyone should tether several practice flies before touching experimental ones. Time spent here pays off in every experiment after.
Reference
- Loesche & Reiser (2021), An Inexpensive, High-Precision, Modular Spherical Treadmill Setup Optimized for Drosophila Experiments: doi:10.3389/fnbeh.2021.689573.
Updated 2026-07-10 01:47 ET.