Preface
In this document I walk you through the process of printing one of our models on a 3D printer. Model, printer, and software are just examples at one moment in time (April 2023). This example might help you to adapt the printing process to your own setup while the details may differ.
Preparation
The two different types of models in our collection can be differentiated by the scale of their features. Some parts like the stands and sphere holders operate on a human scale, others like the fly pyramids and tethers directly interface with the fly on a fly scale. The rule of thumb is, that fly scale models need to be printed on high resolution printers (e.g. resin printers), while human scale models can be printed on medium or high resolution printers (Fused Deposition Modeling (FDM) or resin printer).
In this example I will walk you through printing a Fly Pyramid. Originally Fly Pyramids had been milled from PEEK plastic, a difficult and expensive process. Based on our experience with the original Fly Pyramid in the Reiser lab and with the help of Jeff Talbot from the Janelia Experimental Technology Support team, we developed the Fly Pyramid from the ground up to be optimized towards replicability with widely available tools.
Get a resin printer, resin, and software
We optimized the prints to work well on a commercially widely available printer, the Phrozen Sonic Mini 8K. At the time of writing this resin printer is available at many sources for around $400. Other printers will work, too. For example, we tested some prints on an Elegoo Mars 3 (~$250) and they looked good as well.
On your computer, you will need a slicer software that converts the *.stl model file into a format that the printer can process. While the Phrozen printer comes with the Software Chitubox, I am using the Lychee Slicer for this example. To use this software for free, you will need to create an account at the Mango3D website. This is possible from within the software: the first time you start Lychee it will ask you to confirm several agreements and then either log in or create a new account. For the print I am only using features that are available in the free version.
The community behind Lychee shares printer and resin settings. This makes it easy to adapt the print to your specific setup.
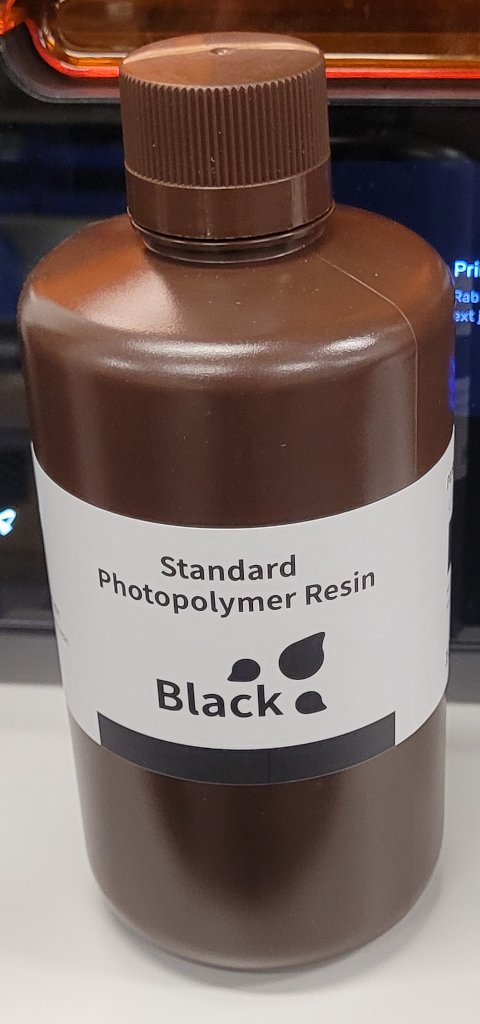
For our prints we used the Elegoo Standard Photopolymer Resin in Black. One bottle will last you a very long time and many Fly Pyramids. Other resins might work as well, but we did not do a lot of tests.
You will need a USB thumb drive to transport the model between your computer and the 3D printer.
Printer and resin setup
You only need to set up the the printer once, and adjust the settings of the resin whenever you change to a different type of resin or if you experience some errors.
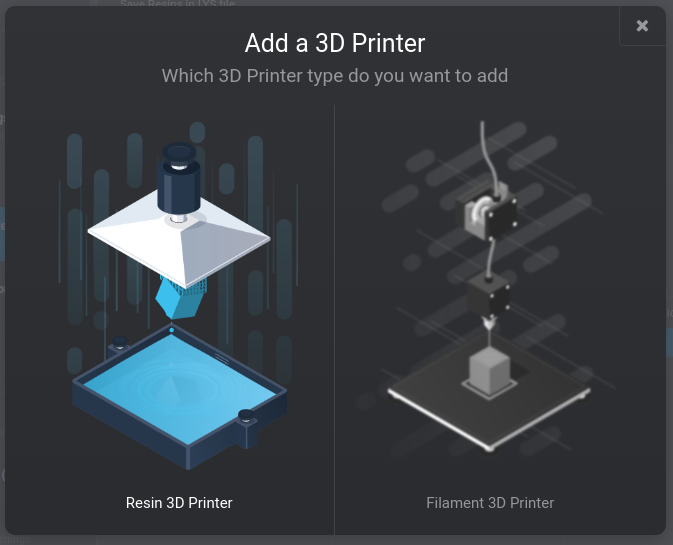 During the first start of the the Lychee Slicer software it will ask you to add a printer. If it does, choose a “Resin 3D printer”, not a “Filament 3D Printer”. If you have used the software before or have set up another printer, you can set up a new printer via File → Preferences → Printer and resins.
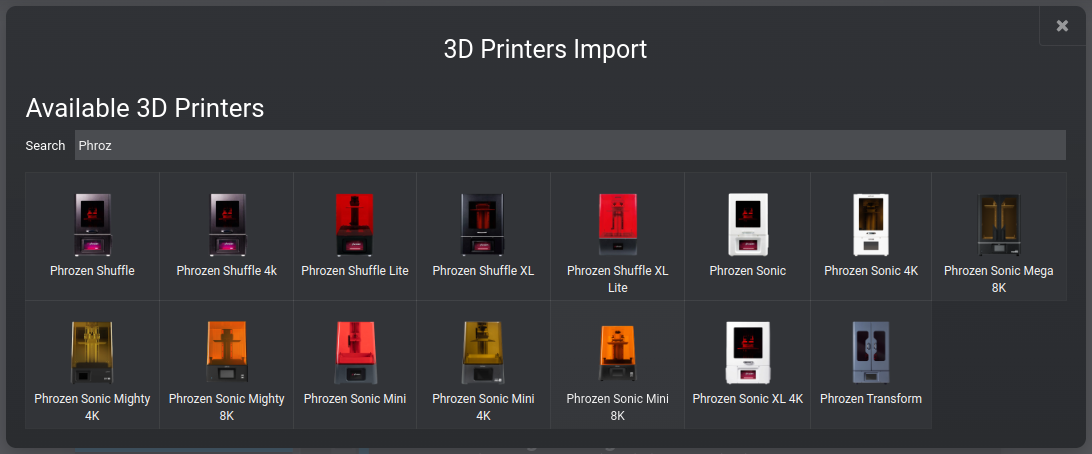 Lychee comes with profiles of many different printers. Since we are using a Phrozen Sonic Mini 8K in this example, I searched for it by name and then seelcted the appropriate machine.
 The Lychee community collects and shares profiles for a combination of printers and resins. For the Fly Pyramid on this specific printer and with the Elegoo Rapid resin we made good experiences with 3.5s per layer and 4mm lift.
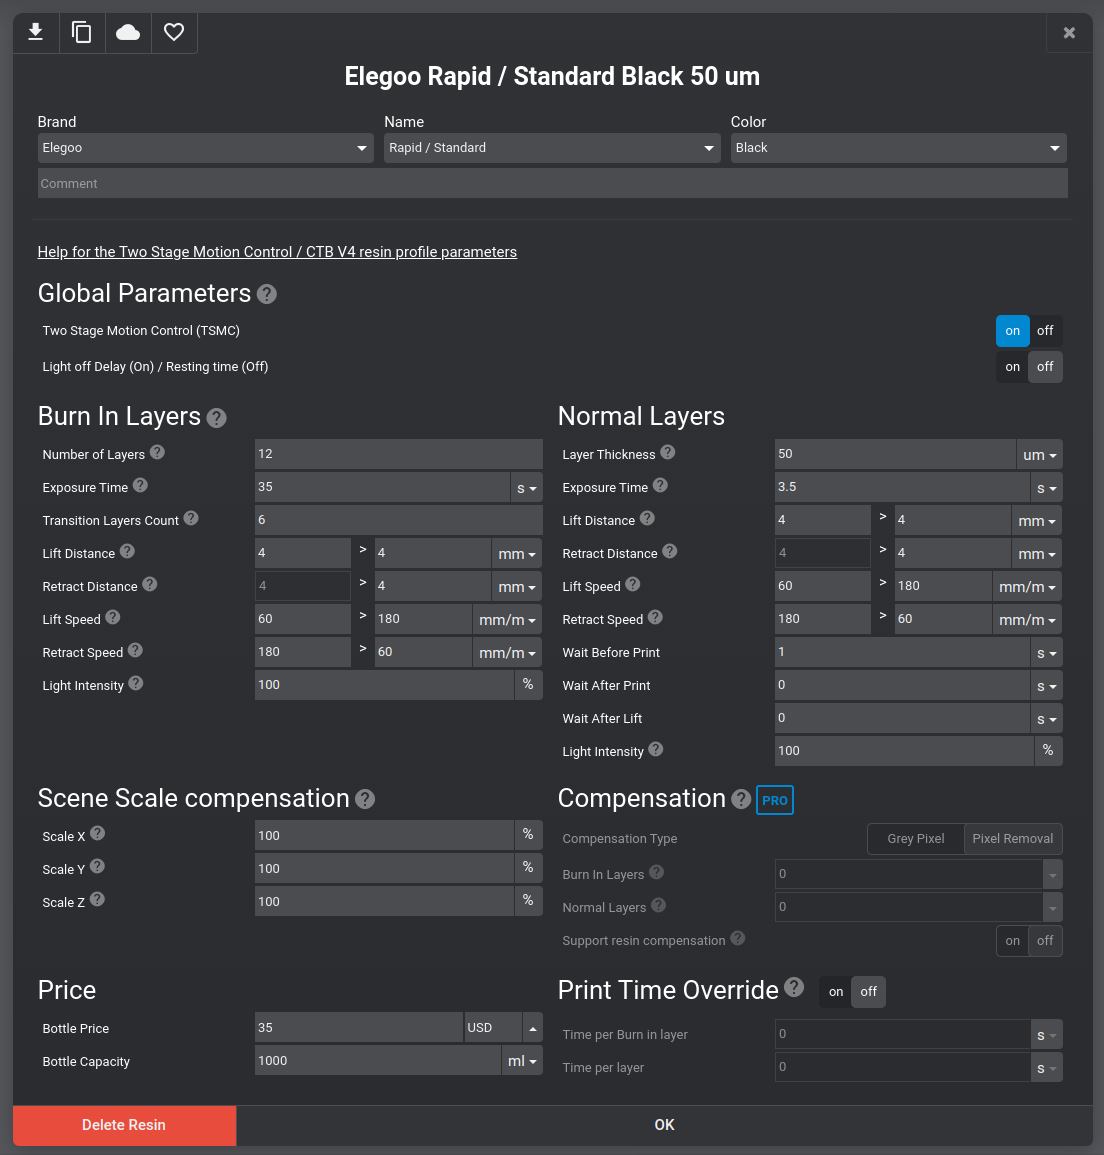 This profiles comes with the settings illustrated in the screenshot. These settings work well for us and will take about 3hrs to print a Fly Pyramid, but depending on the resin, printer, and environment you are operating your printer in, you might need to adjust some of the settings.
Slice and start printing
 Once you set up the printer and resin, you can load the model into Lychee. Choose the appropriate model from our main menu on the left and download the associated
 *.stl file, for example the Fly-Pyramid_S_mm.stl for the Fly Pyramid.
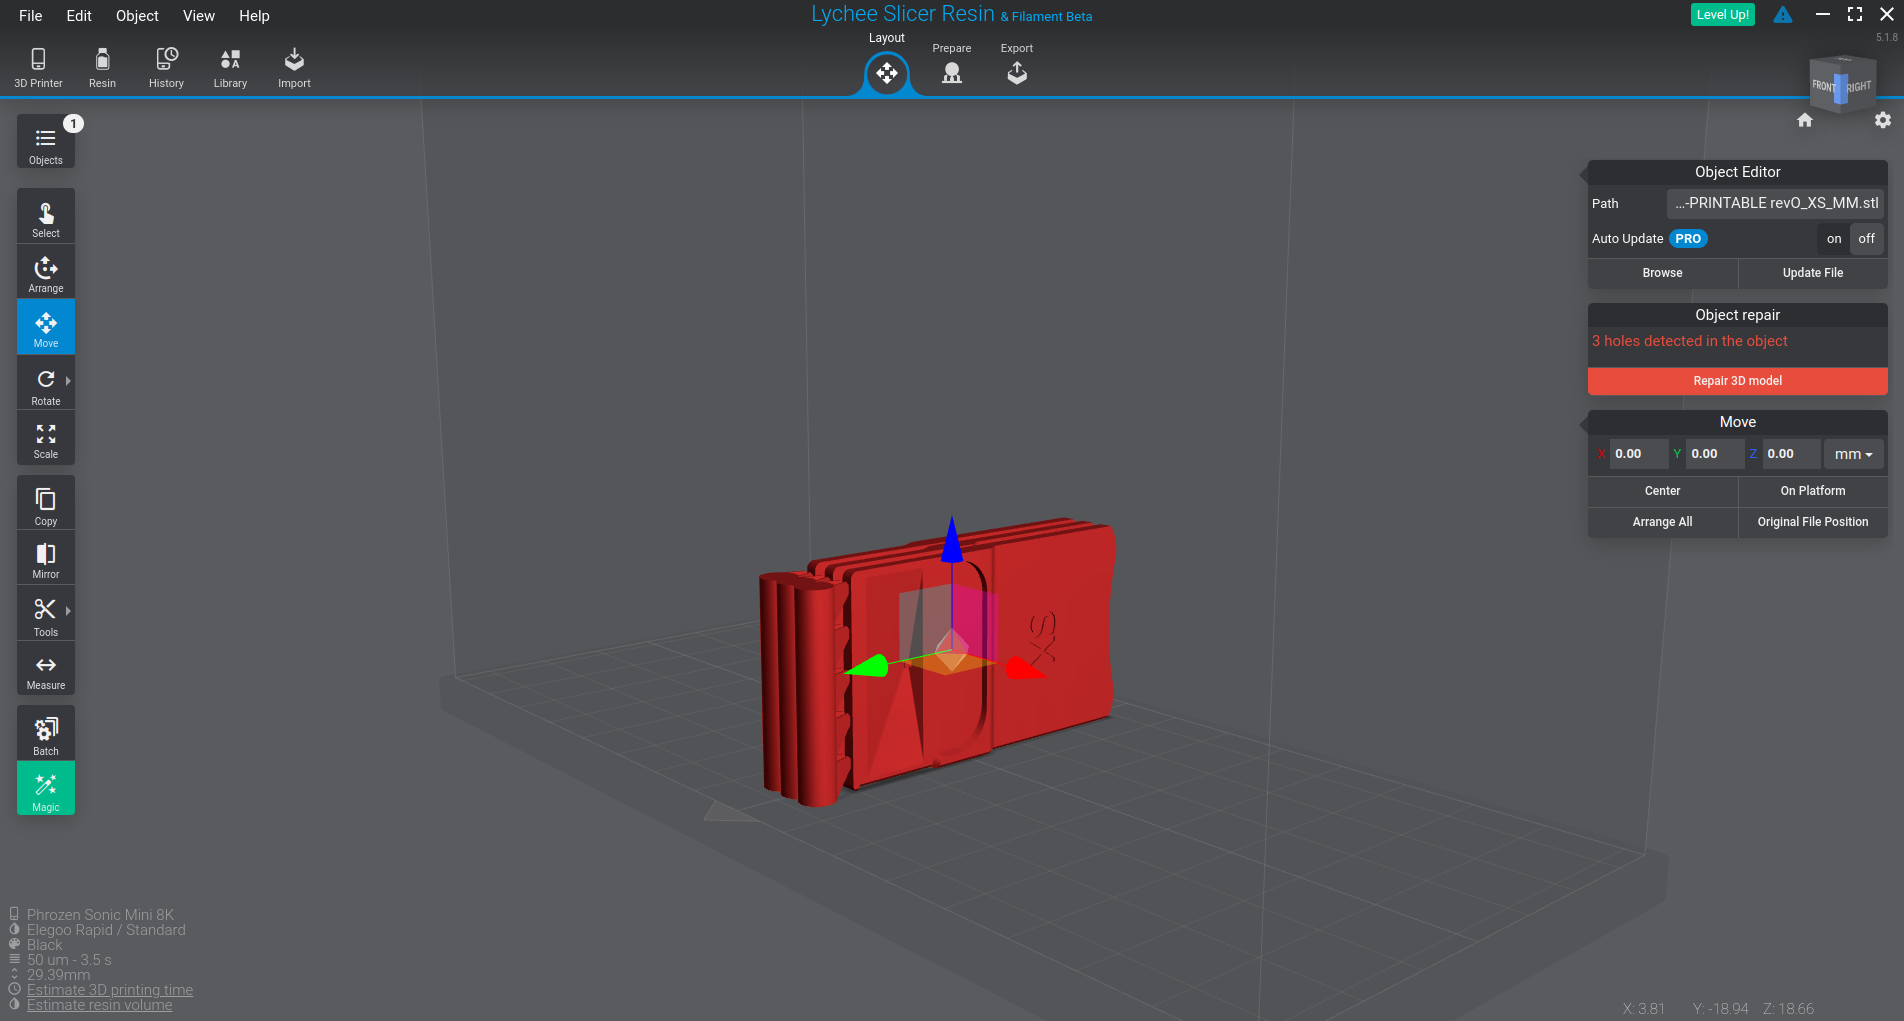
Most of the models we provide will load without issues. If you see that Lychee is complaining about some kind of error, then please let us know although in most cases this is nothing to worry about. Lychee can repair many issues after you click on Repair 3D model.
I recommend to move the model to one side of the build plate as it is easier to remove later. When you place the model, try to use the same alignment I show in the images with the upper part of the pyramid facing towards the empty part of the fly plate and the thickened edge on the build plate.
 If you need more than the number of plates in that
 *.stl files, you can easily duplicate the model without adding time to the printing process. I recommend to let the round supports overlap a little while keeping a distance between the pyramids.
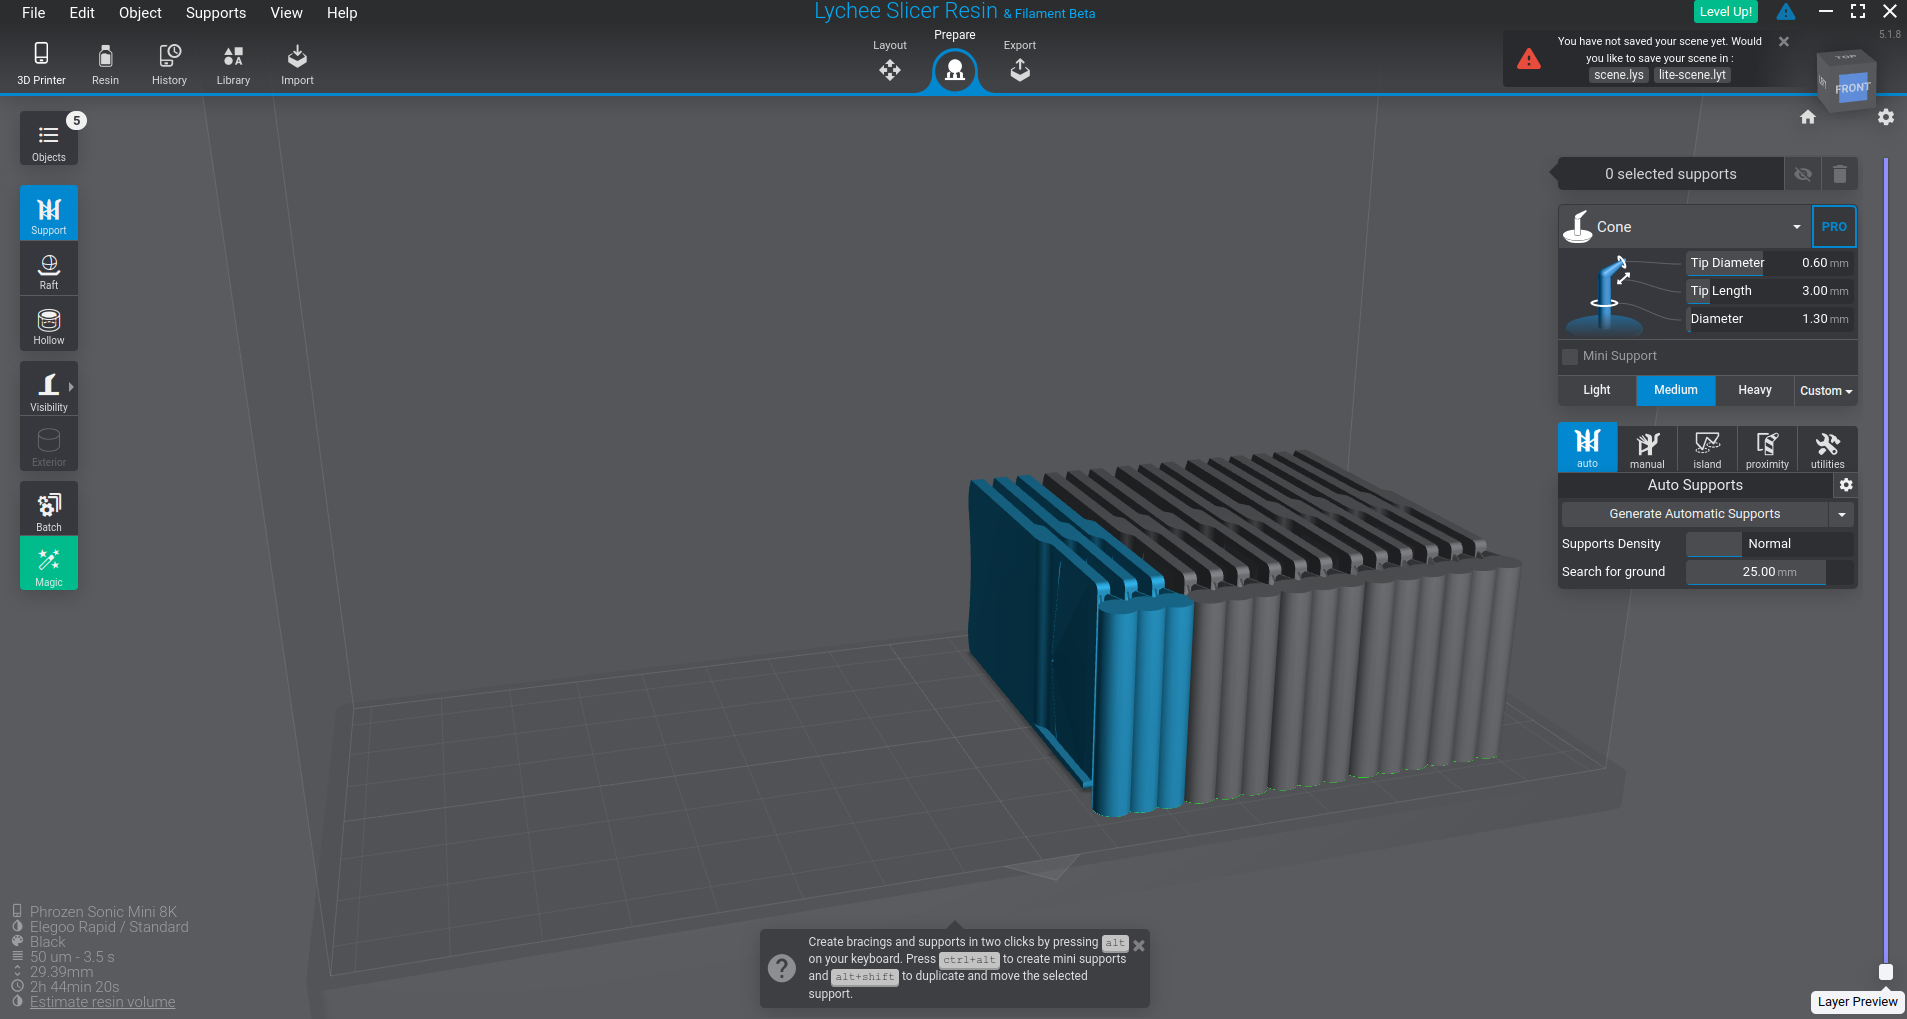
Don’t add any support in the Prepare step of Lychee software.
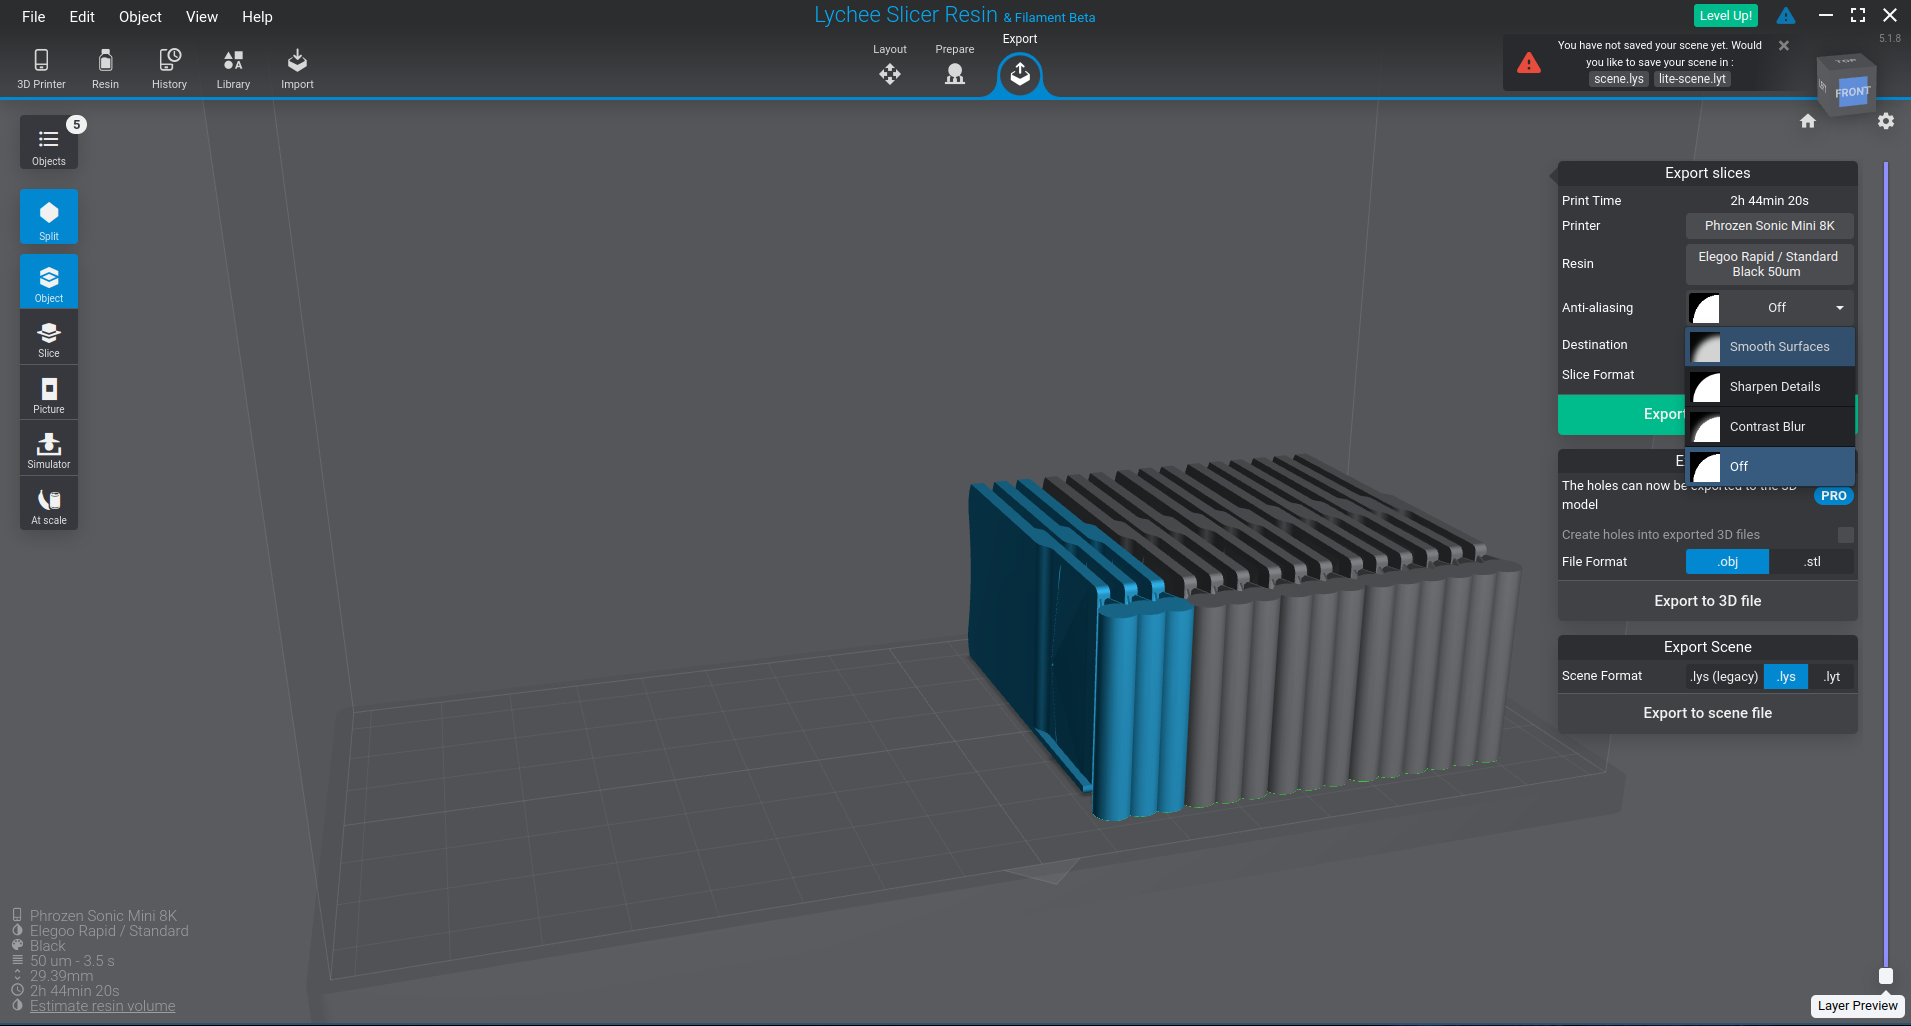 In the Export tab choose the Smooth Surface Anti-aliasing.
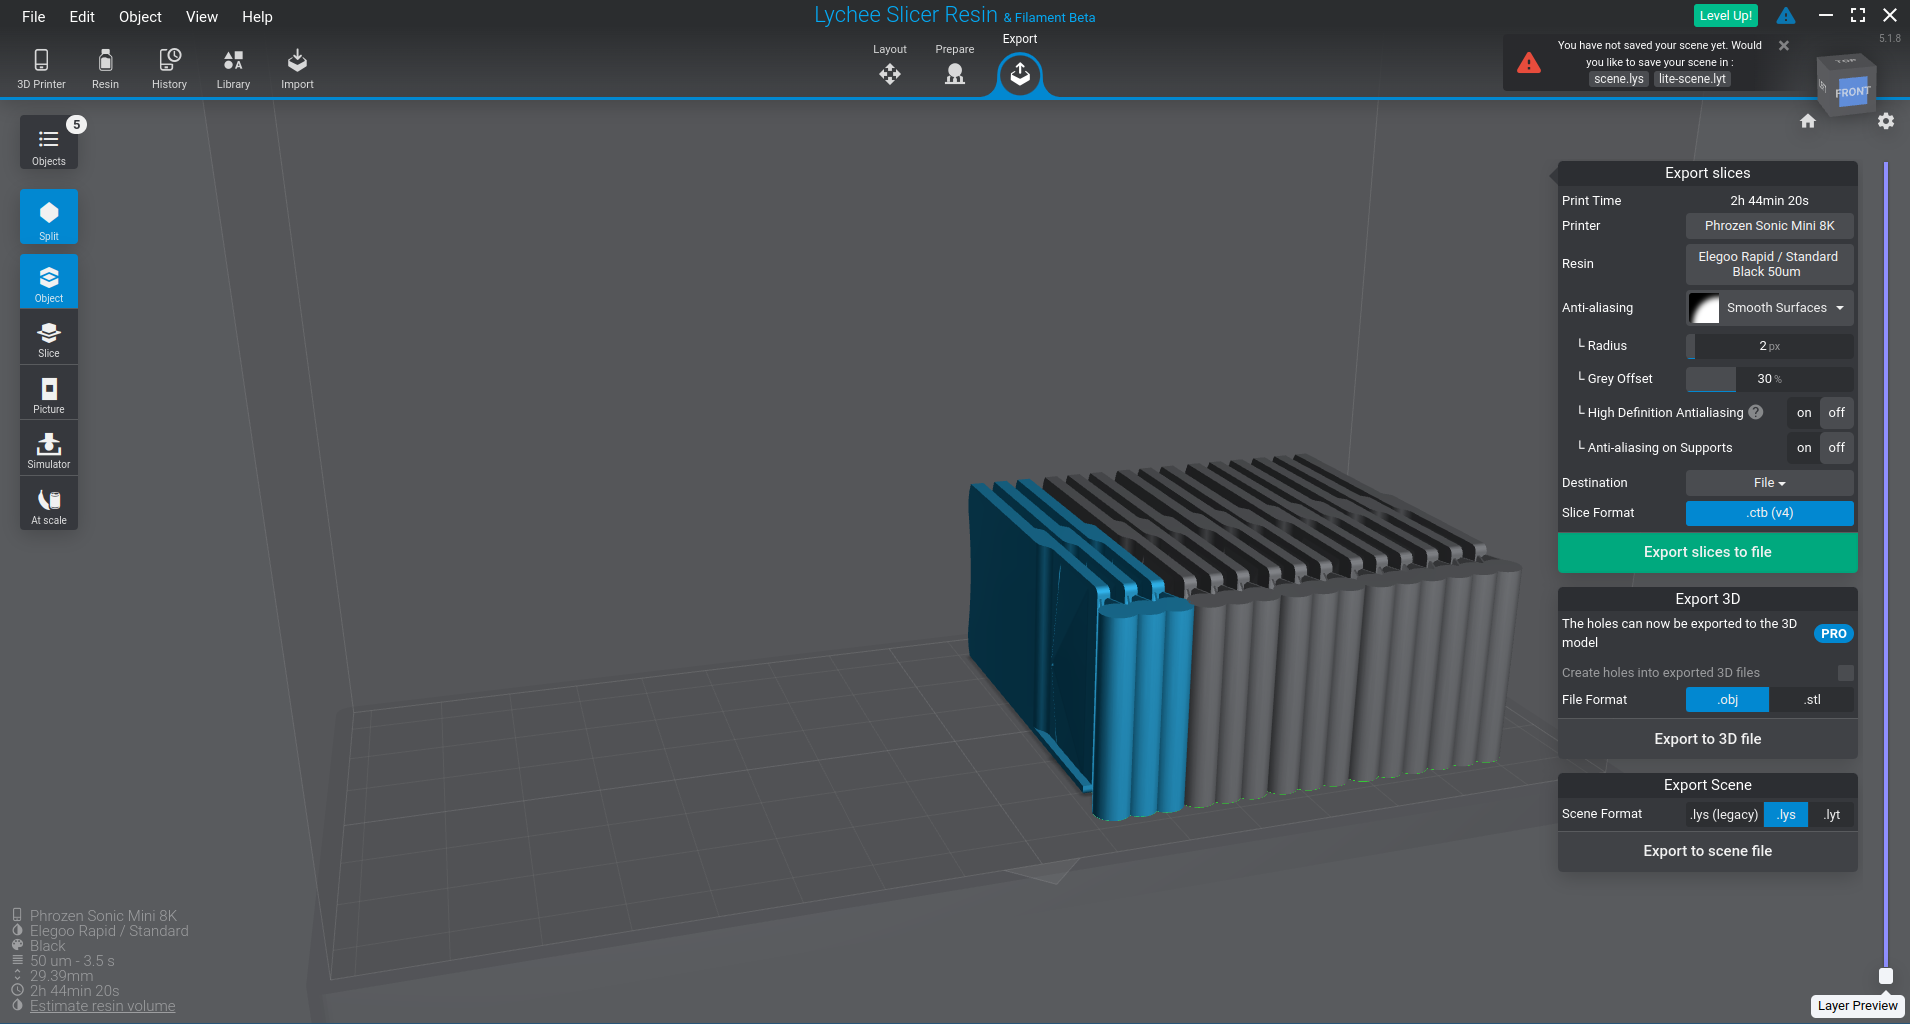 The Phrozen printer requires
 *.ctb files, export the model as a file to an USB thumb drive. In the free version of Lychee you will see some advertisement before the actual slicing happens.
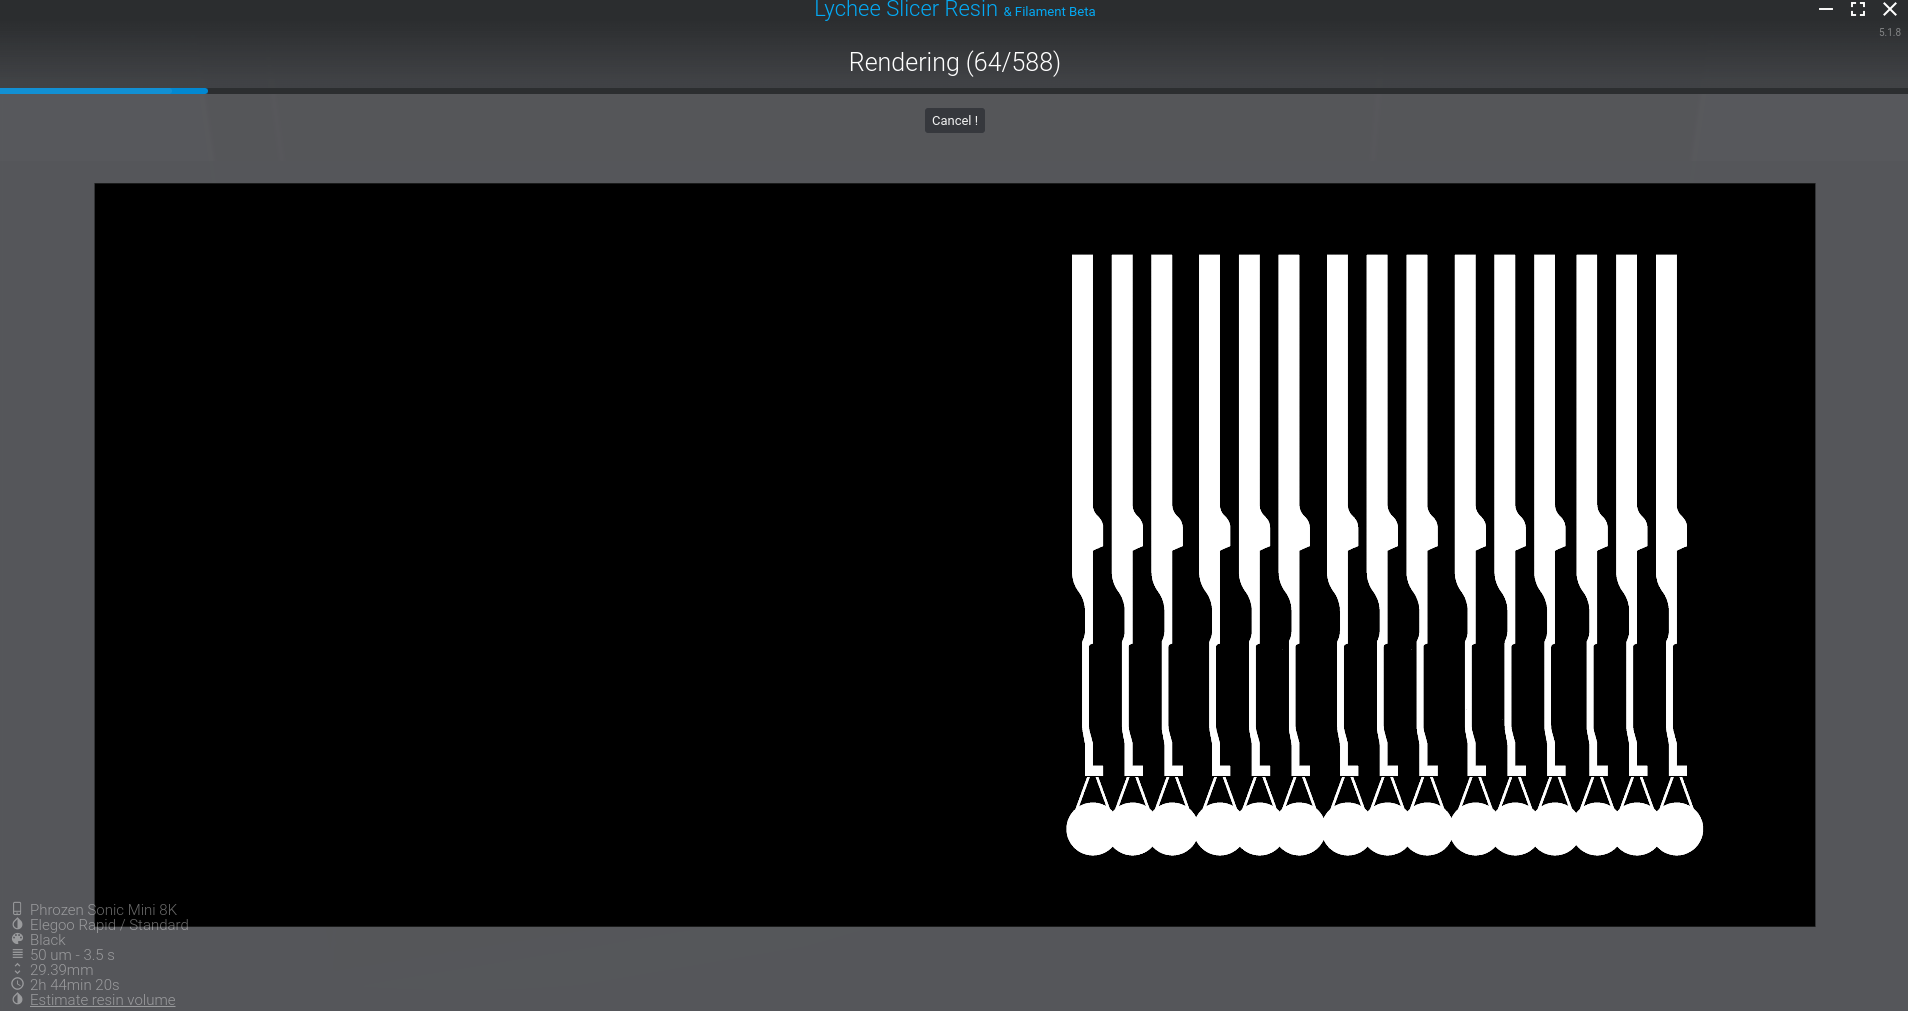 The slicing itself will take a minute or two. In my case the current version of Lychee “reliably” crashed after the export, but generated file was still valid.
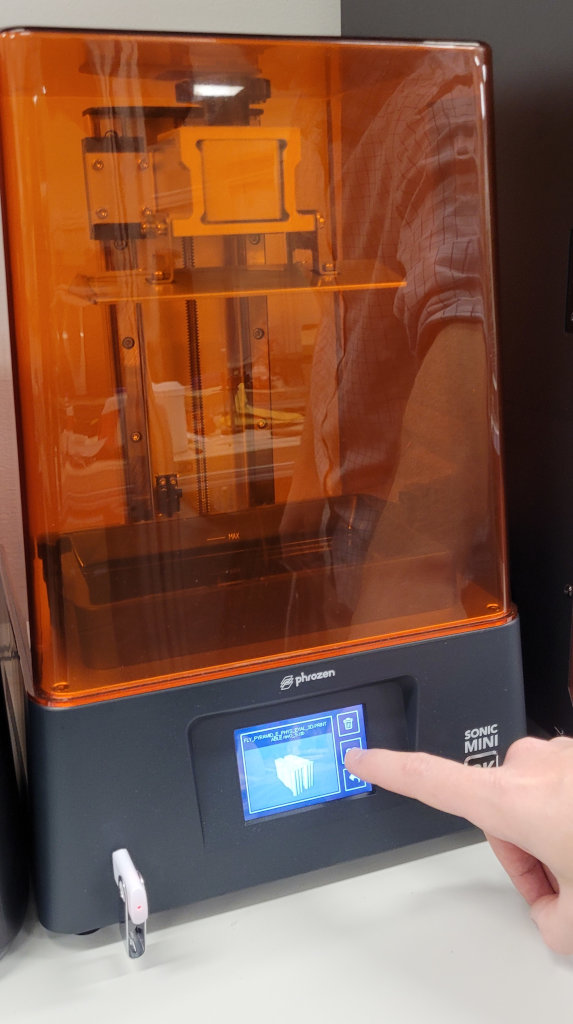 After you transfer the USB thumb drive to the printer, you will see a small preview of your model. Make sure that the printer is ready for the print and then press the print button on the printer. Now you have to wait about 3 hours to see the results.
Post-processing
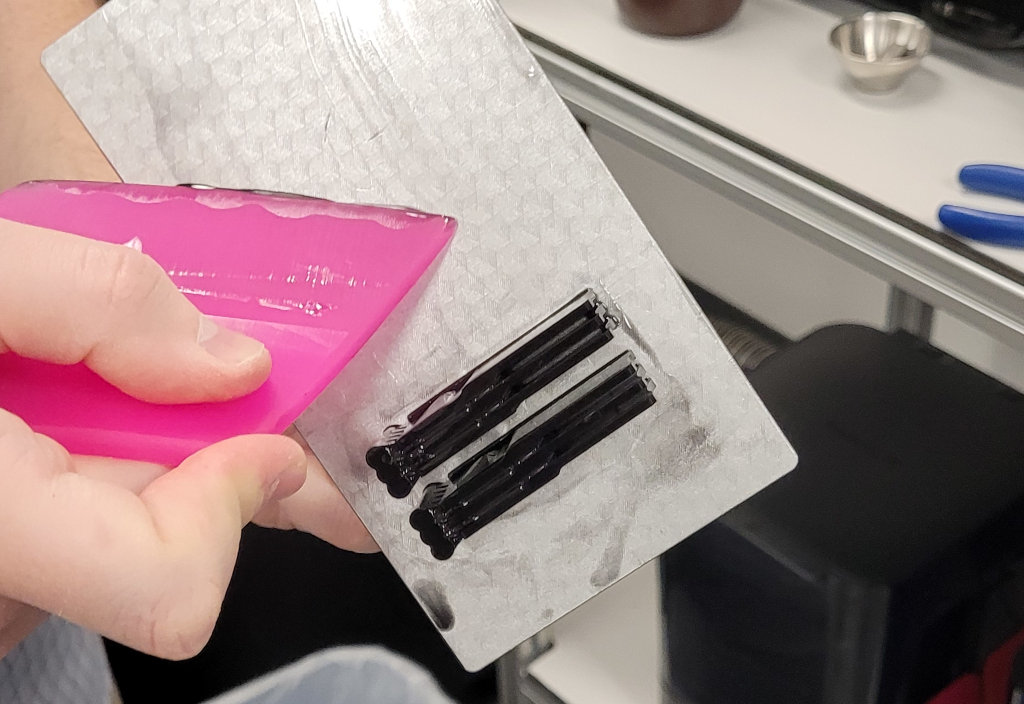 When the print is done, take out the build plate and remove the liquid resin with a plastic spatula as good as you can.
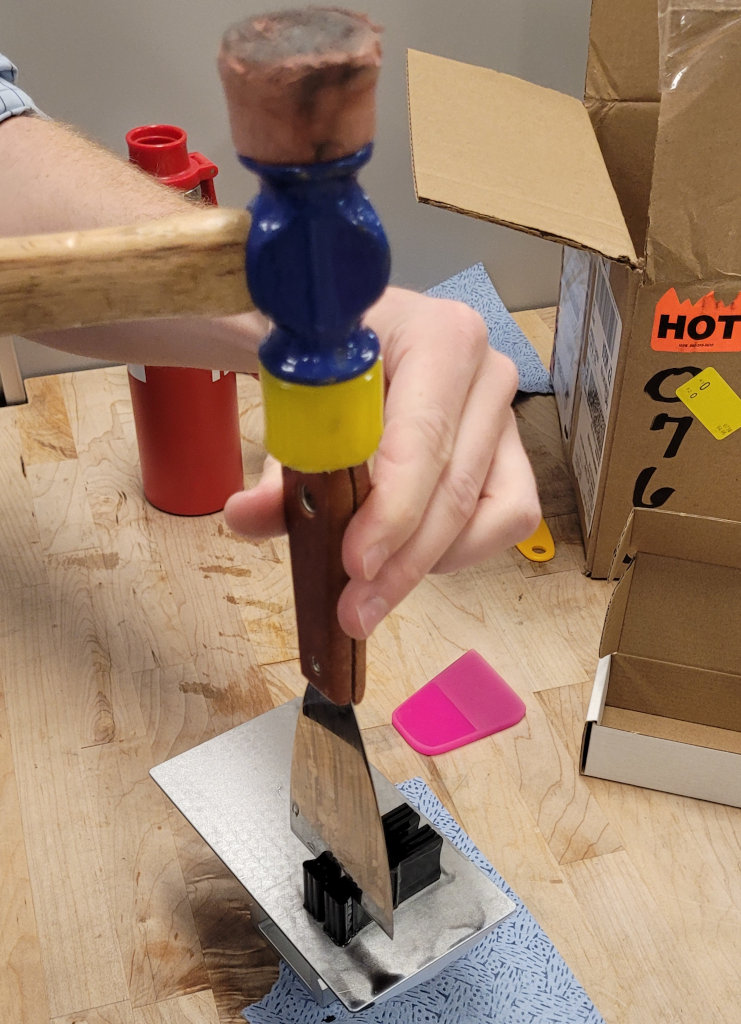 While the pyramids are still on the build plate, use a metal scraper and preferably a hammer with plastic or vinyl head to separate the pyramids from the support cylinders. Use the hammer to cut the support all the way down to the build plate.
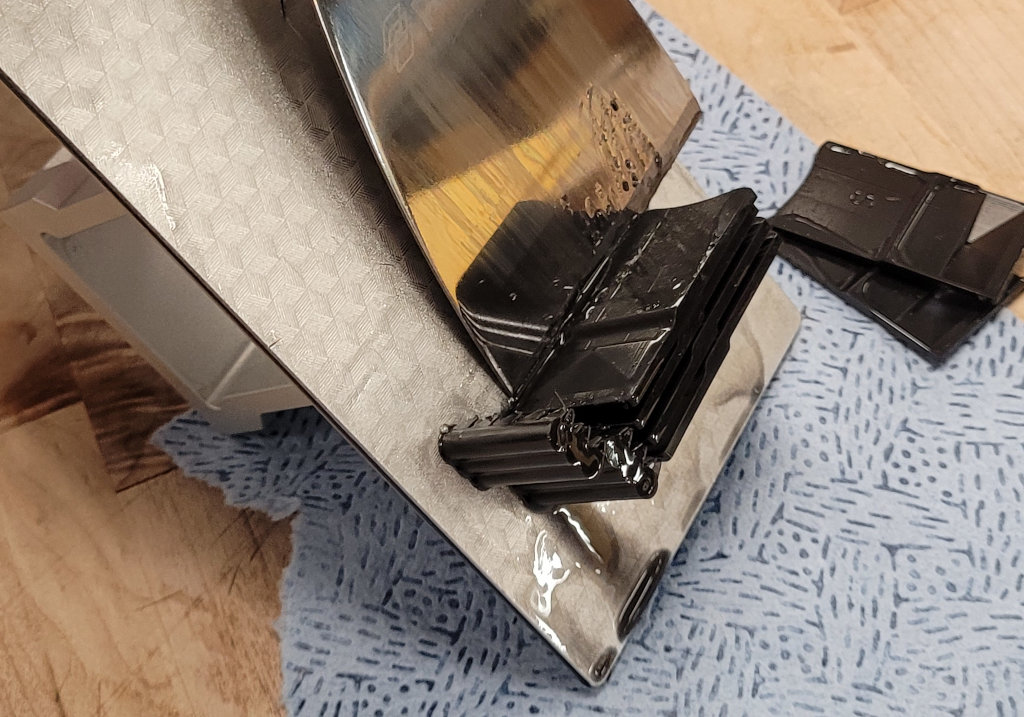 Use the same hammer and scraper method to separate the pyramids from the build plate. The scraper that came with the Phrozen printer worked better than others we tried: the combination of thickness, tapering, and material allowed us to remove the parts without damaging the build plate or the fly pyramid.
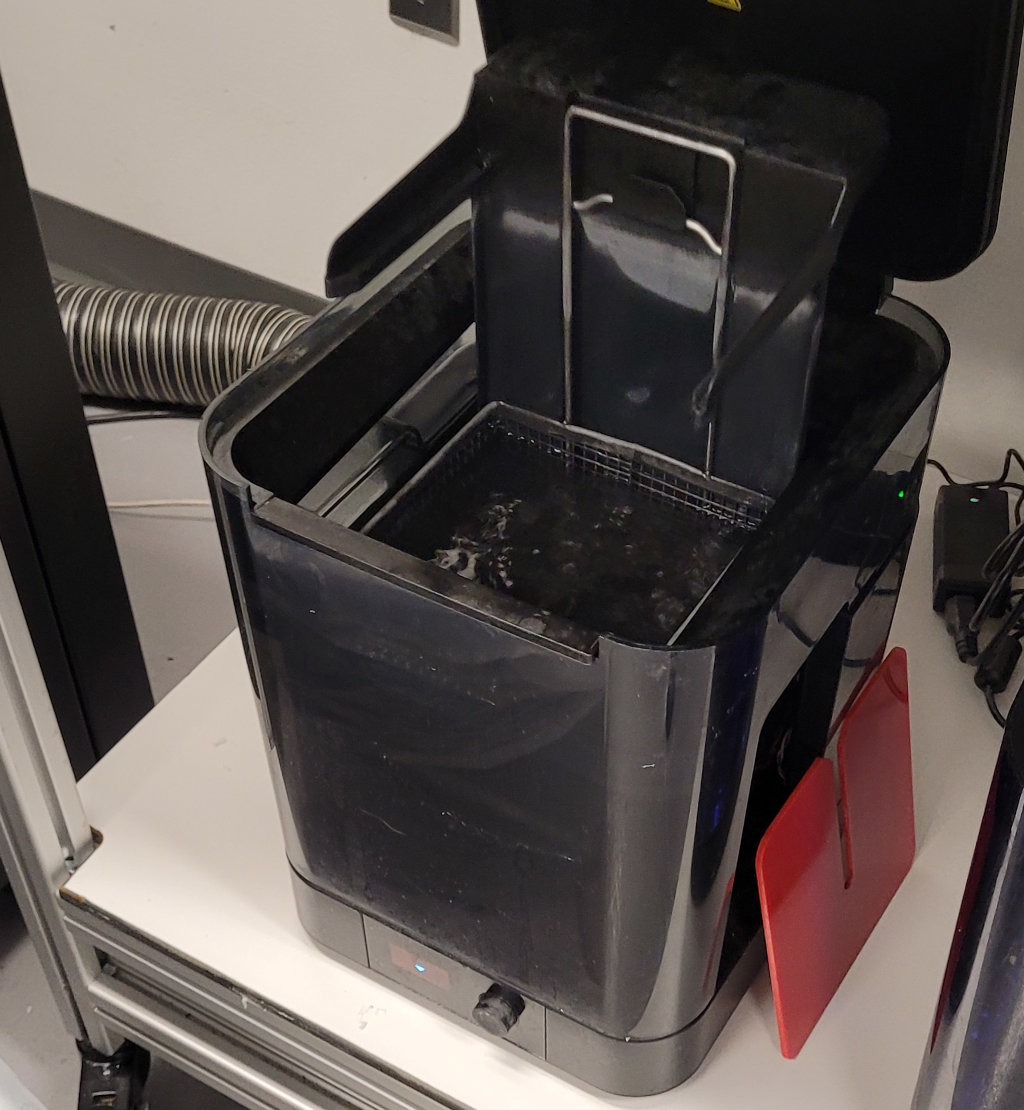 Follow the normal post processing steps for your resin. For the Elegoo resin in this example, I give it a 5 min wash in an alcohol bath. The picture shows a formlabs Form Wash, but a there are other options.
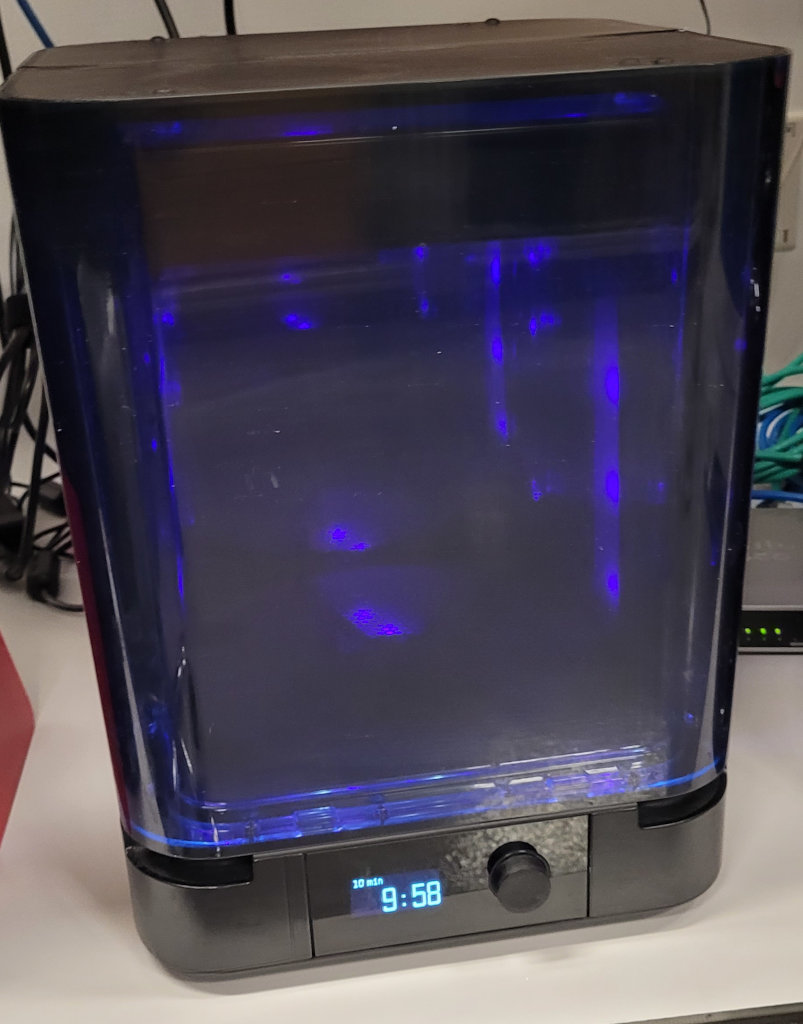 Afterwards a 10min exposure to UV light (without heat) will solidify any leftover resin and make the whole print stronger. Here I show a formlabs Form Cure, but any UV curing station should work.
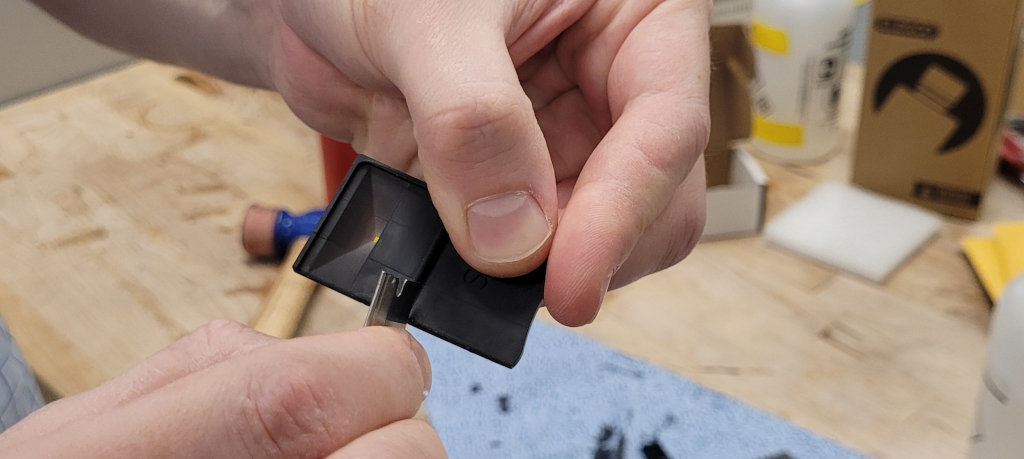 For the final touch, you can use a razor blade to smoothen the edge of the print a little bit. In the first few prints you might break a few of the fly pyramids, especially during the hammering procedure, but with some practice we have a yield close to 100% for the production.